
VARIA LAB · PRODUCT GUIDE
VS6.
Understand the possibilities.
One platform brings burr choice, grind adjustment and speed together. Learn each variable, then explore how they work with your coffee.

Three decisions shape your grind.
The burr set determines the cutting architecture. Grind adjustment changes the working gap. RPM changes the speed of rotation. VS6 lets you work with all three, while keeping the dosing routine in one machine.
You can begin with the supplied burrs and a fixed speed. Establish a brew you enjoy before changing another variable. This gives each experiment a clear reference instead of asking you to learn every option at once.
Start with one coffee, one burr set and one recipe.
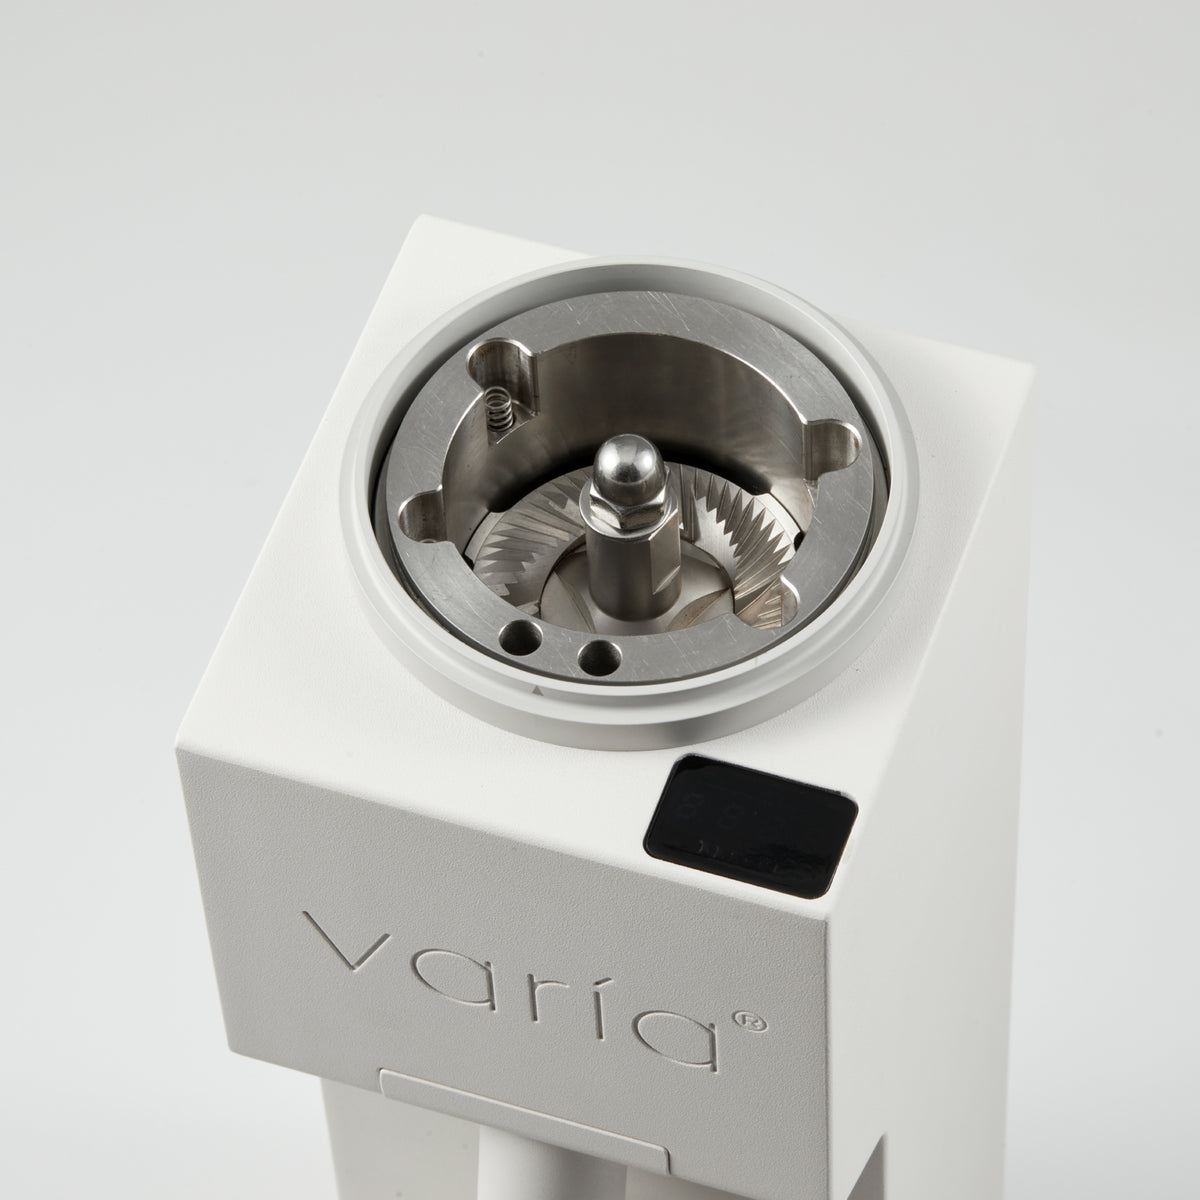
Choose the cutting path.
VS6 arrives with 58 mm stainless-steel Supernova flat burrs fitted. A compatible 63 mm conical set is an optional, separately purchased alternative. Flat burrs use facing cutting surfaces; a conical system uses a central cone within an outer ring.
The deep-dive material explores flat burrs through clarity and note separation, and conical burrs through body and texture. Use these as directions to investigate with the same coffee. Burr geometry, the exact set, grind and recipe all contribute to the result.
| Format | Configuration | Where to begin |
|---|---|---|
| 58 mm flat | Factory-fitted Supernova stainless steel | Establish a familiar espresso or filter recipe |
| 63 mm conical | Compatible optional set, sold separately | Create a fresh grind reference after fitting |
Learn the supplied flat set before choosing another direction.
Make RPM a recorded part of the recipe.
RPM means revolutions per minute: how quickly the rotating burr turns. The VS6 range is 500–1600 RPM, driven by a 300 W brushless motor. The visible speed setting lets you return to the same mechanical setup.
Once a brew is familiar, compare another speed while holding the coffee, dose and brewing recipe constant. Record the change in time, flow and taste. Speed can affect how coffee passes through the burrs, but a higher or lower number is not a universal better choice.
Record RPM alongside grind position and burr set.
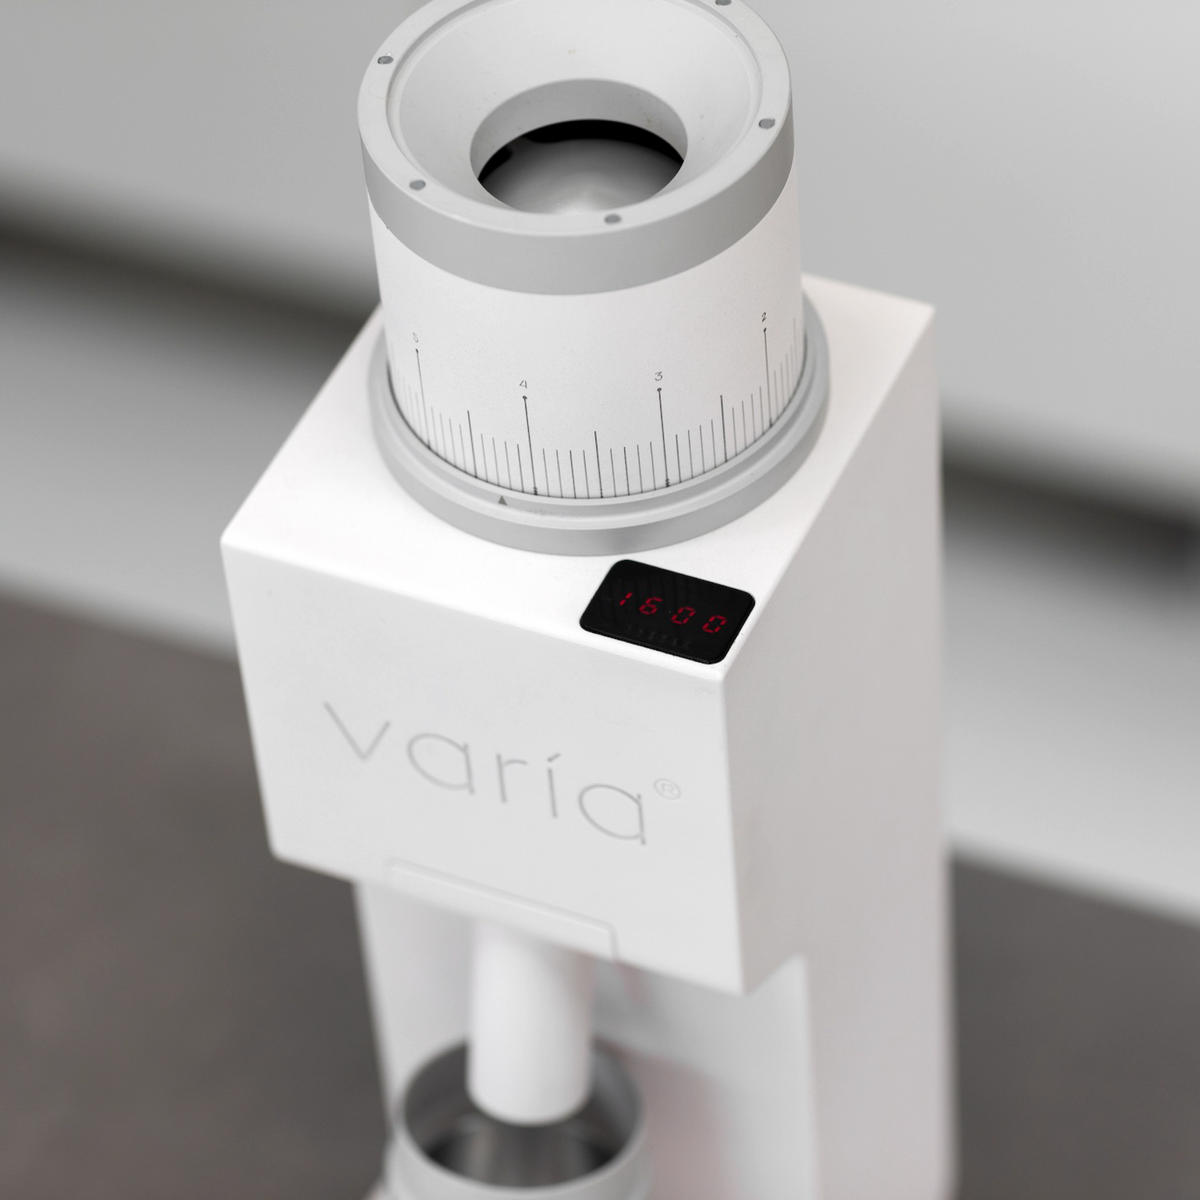
Small movement. A useful reference.
The stepless mechanism lets you refine the burr gap continuously. Each marked division corresponds to 5 μm, or 0.005 mm, of mechanical burr movement. This describes the mechanism’s resolution, not the size or uniformity of every coffee particle.
Read the collar with its revolution reference so a full turn does not disappear from your notes. A recorded setting is meaningful within the same burr assembly and zero reference. After replacing burrs, check calibration and dial in again.
Keep the burr set, complete turns and dial position together.
Find a sensible first setting.
These are the published starting ranges for the factory 58 mm flat burrs. They give you a place to begin before tasting and refining the brew.
The chart does not transfer unchanged to every optional conical or upgraded set. Establish zero using the VS6 manual and do not grind in the 0–1 exclusion zone. Keep RPM constant while finding your first useful grind reference.
| Brew method | Reference setting |
|---|---|
| Turkish | 1–2 |
| Espresso | 2–5 |
| Moka pot | 5–7 |
| Pour-over | 7–10 |
| French press | 10–14 |
| Cold brew | 14–20 |
Use the chart to begin, then use the brew to refine.

Follow the coffee after the burrs.
The magnetic dosing cup sits beneath the outlet. Active ionisation helps reduce static-related clinging as coffee leaves the grinder. The removable dosing tube and spring-loaded knocker help you clear loose grounds and reach the outlet for care.
Weigh beans in and grounds out when establishing a setup or changing coffees. Retention describes coffee left inside the path. The clearing features support the workflow, while the measured output tells you what reached the cup on that dose.
Check the collected dose when establishing a new setup.
Taste one change at a time.
Brew a familiar coffee and record the dose, water or beverage yield, temperature, burr set, grind position and RPM. Note what you taste in plain terms: sweetness, body, clarity and finish.
Change one grinder variable and brew again. If you fit another burr set, establish its own grind reference before comparing the cups. Returning to a baseline helps you distinguish a repeatable preference from a one-off result.
A clear baseline makes the next experiment useful.

The setup belongs with the burrs.
Switch off and disconnect power before opening the grinder. Use only sets listed for VS6 and follow the fitting guide for the assembly, washers, springs, bearing and locking parts.
Clean the mating surfaces, seat the assembly correctly and follow the calibration procedure before grinding. Use the same care when returning to a previous set. Keep its configuration in your recipe notes so you can identify the setup behind a favourite cup.
A burr change starts a new calibration and dial-in.